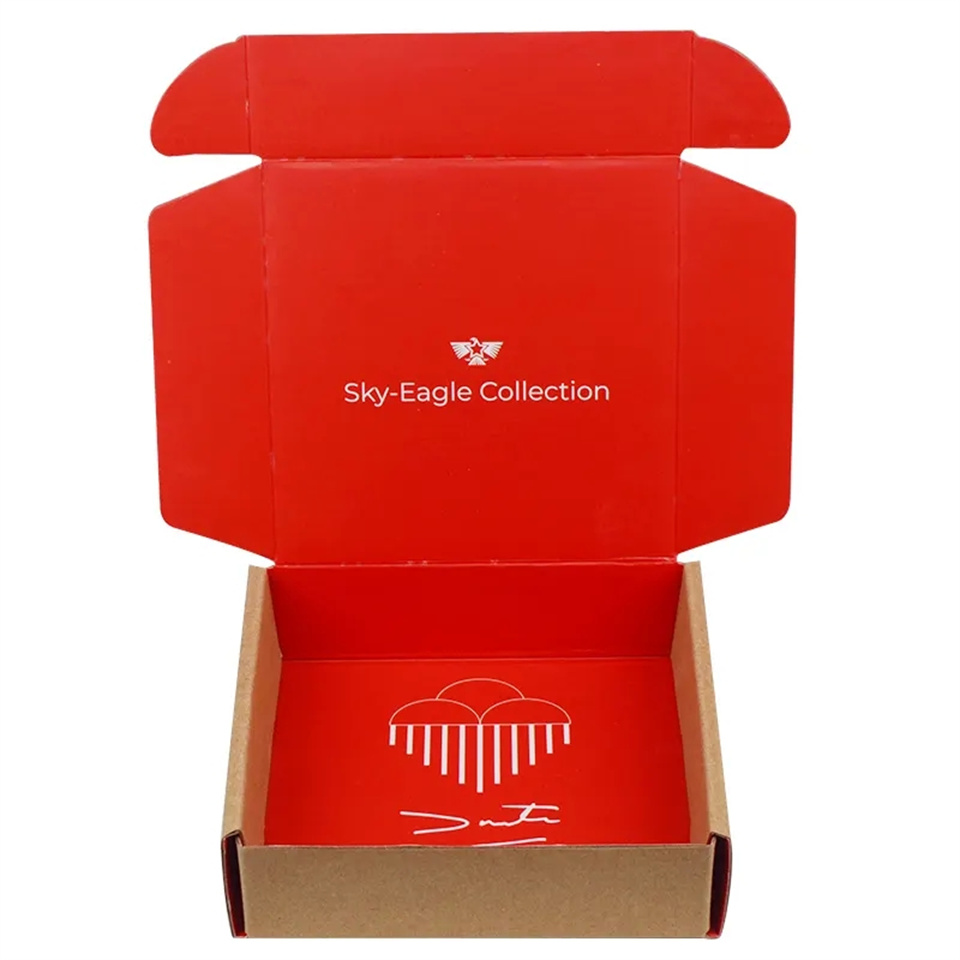
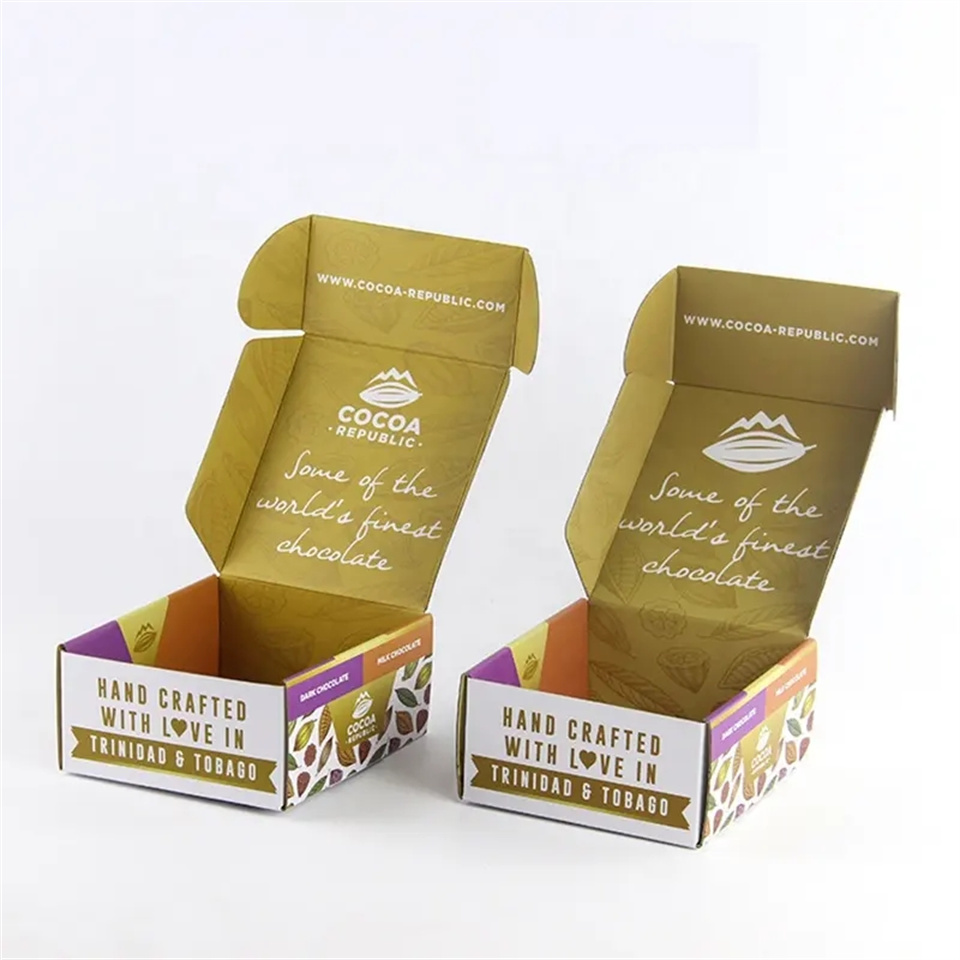
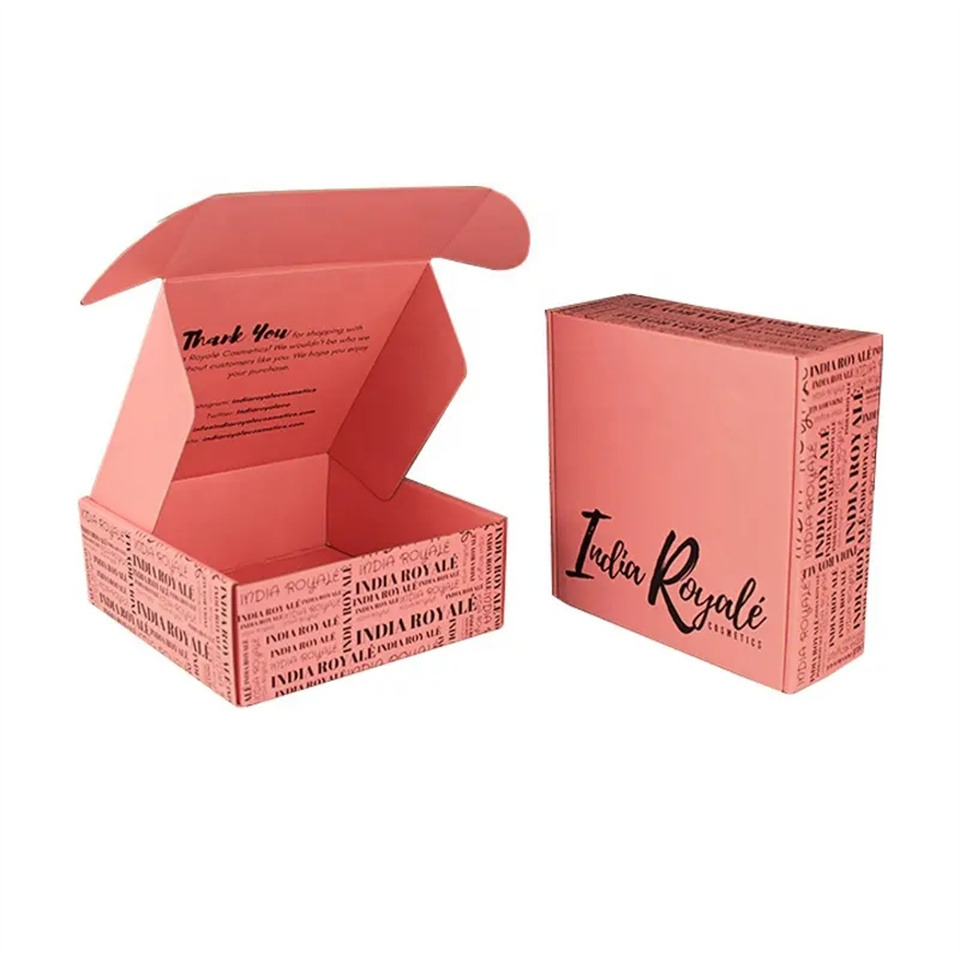
Let's make a perfect spreading for your brand by custom mailer box.
2025-03-03 10:08
Creating a perfect custom mailer box for your brand involves a combination of design, functionality, and branding strategy. Here's a step-by-step guide to help you create a mailer box that not only protects your product but also enhances your brand image:

1. Define Your Brand Identity
Brand Colors: Choose colors that align with your brand’s identity. Consistency in color helps in brand recognition.
Logo Placement: Ensure your logo is prominently displayed. It should be visible and recognizable.
Typography: Use fonts that reflect your brand’s personality. Whether it’s modern, classic, or playful, the font should resonate with your audience.
2. Choose the Right Box Size and Material
Size: The box should be slightly larger than the product to allow for padding but not so large that the product moves around inside.
Material: Opt for durable, eco-friendly materials. Corrugated cardboard is a popular choice due to its strength and recyclability.
3. Design the Exterior
Graphics and Imagery: Use high-quality images and graphics that represent your brand. This could be product images, patterns, or illustrations.
Tagline or Slogan: Include a catchy tagline or slogan that encapsulates your brand’s mission or values.
Finish: Consider adding a special finish like matte or gloss coating, embossing, or foil stamping to make the box stand out.
4. Incorporate Functional Elements
Easy Open/Close Mechanism: Ensure the box is easy to open and close. A tuck-in flap or magnetic closure can add a premium feel.
Handles: If the product is heavy, consider adding handles for easier carrying.
Padding: Use appropriate padding to protect the product during transit. This could be bubble wrap, foam inserts, or tissue paper.
5. Add Interior Branding
Tissue Paper: Use custom-printed tissue paper with your brand’s logo or design.
Inserts: Include thank-you cards, discount codes, or product information inserts. These can enhance the unboxing experience.
Stickers or Seals: Use branded stickers or seals to close the box, adding a touch of elegance and security.
6. Consider Sustainability
Eco-Friendly Materials: Use recyclable or biodegradable materials to appeal to environmentally conscious consumers.
Minimalist Design: A minimalist design not only looks modern but also uses less ink and material, making it more sustainable.
7. Test the Design
Prototype: Create a prototype of the mailer box to test its durability, functionality, and design.
Feedback: Get feedback from a focus group or your team to ensure the design meets your brand’s standards and appeals to your target audience.
8. Print and Produce
Choose a Reliable Manufacturer: Work with a reputable manufacturer who can produce high-quality custom mailer boxes.
Proofing: Before mass production, request a proof to ensure the colors, design, and text are accurate.
9. Launch and Promote
Social Media Teasers: Create buzz by sharing teasers of your new packaging on social media.
Unboxing Videos: Encourage influencers or customers to share unboxing videos, showcasing the experience.
Feedback Loop: Collect feedback from customers to continuously improve the packaging.
10. Monitor and Iterate
Customer Feedback: Pay attention to customer feedback regarding the packaging. Are they satisfied with the unboxing experience?
Continuous Improvement: Be open to making adjustments based on feedback and changing trends.

By following these steps, you can create a custom mailer box that not only protects your product but also enhances your brand’s image and provides a memorable unboxing experience for your customers.

Get the latest price? We'll respond as soon as possible(within 12 hours)
